Creating a New Automation Service for Accordance
As of Accordance 10.4.3, Automator Actions are now included that allow you to build your own OSX Services as well as other Automator Workflows. The best starting place is to download the sample Services from Accordance, and get familiar with those, including the Instruction file included with them.
This is a tutorial on how you could go about building a new Service workflow, one that queries you for a verse reference in a dialog box and then inserts the full text of that reference in whatever document you're in. (This tutorial uses OSX 10.9.)
1. Launch Automator.app which is located in the /Applications folder.
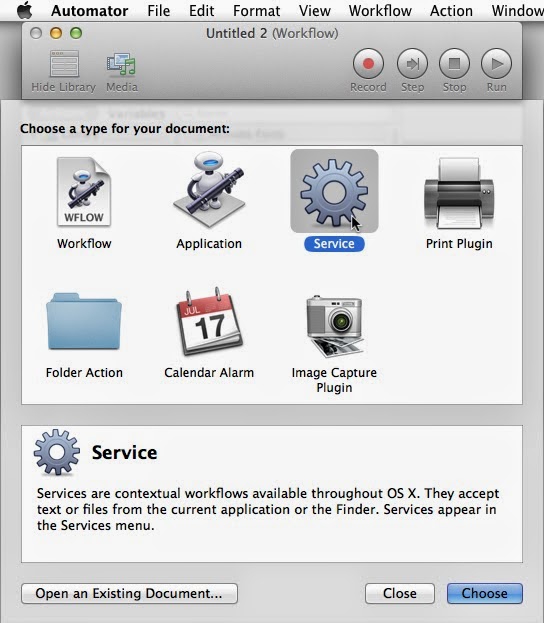
2. When the dialog box for a new workflow shows up (you may have to select menu File/New), choose the option to create a new "Service". A Service is a special type of Automator Workflow that gets installed in the system-wide Services menu for quick access to automation tasks from inside other programs.
This opens a new Workflow in Automator. A Workflow is the palette that you can create individual steps for the Workflow to run that results in automated tasks being accomplished. The pane on the right is the canvas where you create the steps. The top pane on the left are the individual Automator Actions. These actions represents a large number of single tasks that can be added to the Workflow (by dragging them over). They are the building blocks of your automation Workflow. The pane below on the left shows the description of each Action... what kind of input it works on, what it accomplishes, what the results will be. As you add Actions to the Workflow on the right, the results (output) of one Action get passed on to the next Action in the Workflow.
3. Select menu File/Save and name the Service something descriptive of what it will accomplish. We will name this service "Acc - Query Insert Verses". The 'Acc' will group it with other Accordance Services, the 'Query' indicates it will first ask you for input, and the rest describes that it will insert the full text of the verses.
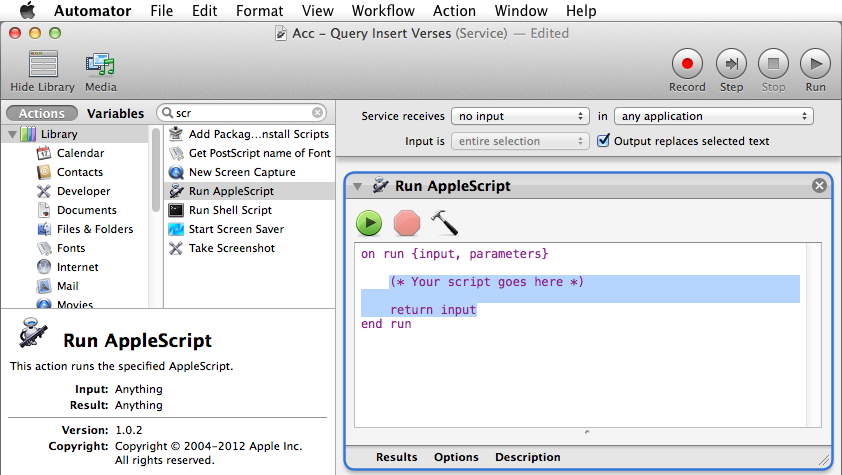
4. For creating our Service, the first task we need to accomplish is bringing up a dialog box to allow us to input the verse references we want to insert. There is an Automator Action called "Ask for Text", which brings up a dialog box. This Action is flawed, however, in that once it pops up you still have to click on it to type in it. So, we won't use it. We can overcome this flaw with a little Applescript. Find the Action titled "Run Applescript" and drag it into the Workflow space.
5. Change the text of the default Applescript content to bring up a dialog box. You don't need to know anything about scripting to accomplish this. You might observe that the script will run every command between the words "on run" and "end run". So, let's change what the text runs.
Delete the line that says:
return input(You can also delete the "(* Your script goes here *)" line if you like. It's just a comment.)
Paste the following command onto its own line, in between the "on run" and "end run" lines.
return text returned of (display dialog "Enter a verse reference:" default answer "")Note that this text is all one paragraph. The result should look like this:

6. Next, find the Accordance Actions. You can do so by typing "acc" in the search bar above the Actions. You will see two Accordance actions. One is "View Text in Accordance". This Action building block is for taking references and searches and bring Accordance forward in order to run those searches in a new text or tool of you choosing. Find the Action called "Get Text From Accordance" and drag it underneath your Applescript action in the Workflow.

7. Select the options you desire in the "Get Text from Accordance" Action. The popup menu will populate with the short name of all the Text Modules you have installed in Accordance. I'm going to select "First Text Module" which will pull the verses from the module at the top of my module list in the Accordance Library. You can also choose whether the text is to be formatted using the Citation format you stipulate in Accordance Preferences, or if you prefer it to just use one verse per paragraph.
8. At the top of the Workflow, change the option to display "Service receives no input". This means that the Service does not require you to have anything selected in order to activate it (because you will be providing the input in a dialog box.)

9. Close to that option, select the option for "Output replaces selected text". This is what instructs the Service to insert the results of the Workflow into the current cursor/selection of your current document. This means that our Services will only be available in the Services menu when the current selection is a type of document that you can in fact edit/type into.
10. Save the Service Workflow and quit Automator, and you're done.
Now, you can be in a text document/email/etc. and insert verses quickly by:
1. Placing the curser where you want and invoking the Service "Acc - Query Insert Verses":

2. Enter a valid verse reference in the dialog box:

3. Enjoy the textual goodness that results:

You can peruse the Actions in Automator (especially those in the "Text" section) to get an idea of the possibilities of what you can create.
Note that the Service you just created, as well as the sample Accordance Services you should have installed, are located in ~/Library/Services/. If you want to add a new Service that's only a slight change from one you already have, you can select the file in that folder, duplicate it, open it in Automator by double-clicking, change the options (such as selecting "Second Text Module", rename the file and save and quit.
Note also, that if you have a Service you end up using often, do yourself a favor and add a global keyboard shortcut using the Apple Preferences / Keyboard Preferences.
You can find more information about this in the Instructions that come bundled with the sample Accordance Services.


1 comment:
Joe, you are awesome! Thank you so much for posting this. I think I'll finally be saying good-bye to the widget! This was very, very helpful to me and will really be good for my study workflow.
Post a Comment